Sending a lot of personalized emails? Need to do a mail merge with PDF attachments to unique recipients? There are several reasons you might want to do this. You could be sending assignments to students, marketing documents to prospects, or anything in between.
It can be overwhelming at first if you don’t know where to start. But no worries. In this article we will discuss what mail merge is and how to send PDF attachments with it using the most common methods. That way, you can simplify and streamline the process now and going forward.
What is Mail Merge?
A mail merge is the creation of various documents from a single data source or template. The mail merge technique is used for various purposes: mailing labels, personalized messages, documents, mass email campaigns, and more.
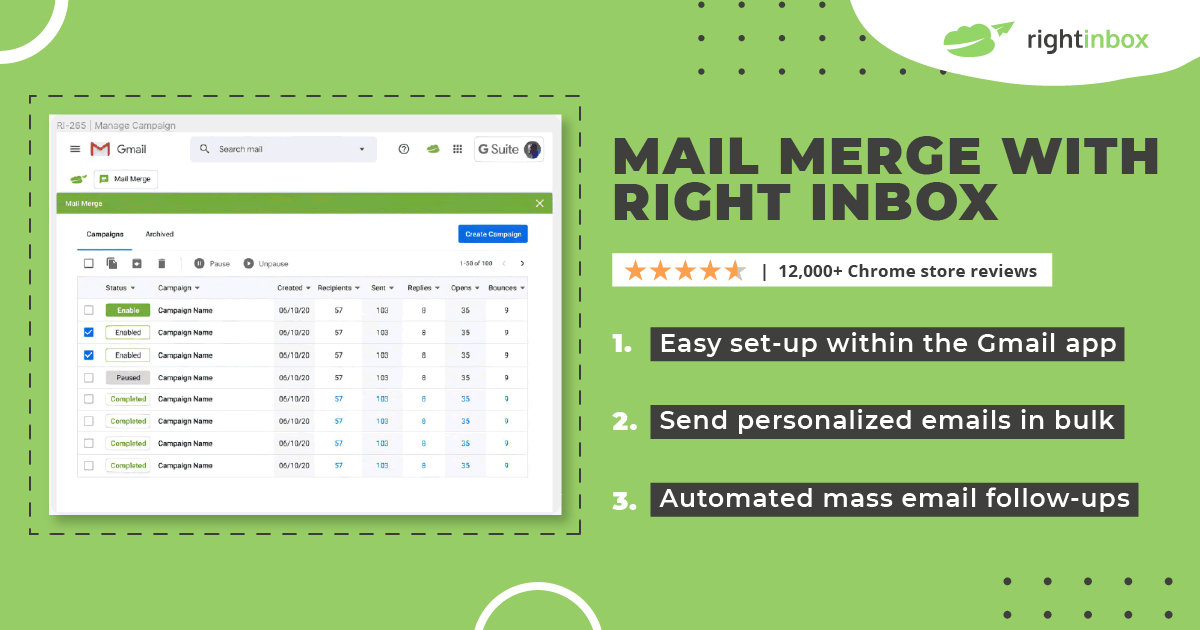
Right Inbox’s mail merge feature makes it easier than ever to set up a mail merge. Have your mail merge live within minutes.
What Do I Need to Merge a PDF?
The first thing you need is the PDF document that you want to send, of course. From here, you can accomplish a mail merge of the PDF with Microsoft Word, Adobe, manually in Gmail, or with an app that automates the process.
Additional Reading: How to Do a Mail Merge in Gmail
Let’s look at the steps to accomplish mail merges with each method below:
Mail Merge a PDF with Word
Step 1: Open Word and prepare your mail merge PDF.
Step 2: Navigate to Mailings.
Step 3: Click on Start Mail Merge.
Step 4: Click Select Letters.
Step 5: Now click the Select Recipients option, as well as select your data source (Excel File or CSV).
Step 6: Click the Insert Merge Fields option, then customize your document further if required.
Step 7: Click on Merge to Adobe PDF.
Step 8: Create the name for your PDF.
Step 9: Go to Email Options and check the Automatically send Adobe PDF files by Email box.
Step 10: Create a message in the Message box.
Step 11: Click OK to send the PDF.
5 Issues with PDF Mail Merge via MS Word
- Must generate PDF in third party app like Adobe first
- Sometimes create formatting issues
- Can’t save drafts
- Can’t personalize subject lines
- No save option before sending
As you can see, it’s possible to mail merge with Word, but it’s a little complicated compared to other alternatives.
Mail Merge PDF Documents with Adobe Acrobat
Similar to Word, Adobe Acrobat doesn’t really offer an out-of-the-box way to mail merge your PDFs. However, using the help of a plug-in, it is possible. Here’s how to do it:
1. Create an Excel Spreadsheet using the same strategy for creating different columns and fields above (Name, Address, etc.)
2. Navigate to the AutoMailMerge tool in Adobe Acrobat.
3. Go to mail merge settings and click on “Select Email Options.”
4. Check the “Send emails to the recipients” option.
5. In the data field under the “Data source field to use for email address” category, select “Email.”
6. In the “Message” field, type your subject line and body text for the email. Be sure to use the right field names that correspond with your column headings in your Excel sheet.
7. Click “Next” to navigate to the settings screen. Your mail merge will be done with your default email client unless you specify a different one on this step. So double check that it will use your desired provider.
8. If you have selected the default email method, you don’t need further setup on this step. However, if you are using Windows, it has a security policy that will force you to confirm each message to be sent.
9. To avoid needing to confirm each message, uncheck the “Use simple MAPI protocol” box. If this option is not available due to using a company device that has it disabled for security reasons, you’ll want to send your emails via an SMTP server.
10. Select “Use SMTP Internet E-mail Server” and then “Next.”
11. You’ll need to have the SMTP server information on hand to enter it in this step. Keep in mind that the “Your Name” field is what will appear in the “From” section for your recipients to see.
12. Click on “Next” once you’ve configured your email settings.
13. Now click on “Send” (keep in mind there may be a daily limit from your SMTP servers).

Manual Gmail PDF Mail Merge Steps
Mail merge is not something that comes as a standard feature in Gmail. So to accomplish a PDF mail merge, you’ll need to be a little creative.
The best way to mail merge a PDF attachment with Gmail is using Google Sheets:
1. Create a Google Sheet
2. Create columns named Recipient, Address, and File Attachment.
3. Paste your email addresses into your Recipient column, one on each row.
4. Paste recipient addresses into their corresponding rows.
5. Paste Google Drive links to your PDFs in the File Attachment column.
6. In Gmail, draft your message that you’ll be sending. You can customize your messages by using placeholders such as {{Name}}. Ensure that the placeholders match up with your Google Sheet column headings or it won’t work.
7. Once you have your email drafted up with the placeholders, select Mail Merge.
8. Then select Send Emails.
9. At this point, you will see a popup message informing you that this script will need your authorization. Click on Continue.
10. Click on Go to Gmail/Sheets Mail Merge.
11. In the box, paste your email message.
12.Click on OK.
13. The Email Sent column should now be updated to indicate that your emails have been sent out.
Additional Notes on Gmail PDF Mail Merge
Sometimes your mail merge isn’t as straightforward and you need to take some extra steps to customize the process.
How to Create Extra Columns in the Google Sheet
If you want to add more data, you’ll need to make some edits to your Google Sheet:
- Click on the column to the right of your last filled-in column.
- Add text with the {{}} brackets — {{Address}} for instance.
- Don’t change out the Email Sent or Recipient columns or you’ll need to update the script for them in the Script Editor.
Additional Things to Keep in Mind
Make sure you’re using a legitimate address to improve your email’s deliverability. Also, keep in mind that you have a email sending limit of up to 500 emails per day in Gmail. You’ll need to wait another 24 hours before sending more.
Your file attachments need to be 10MB or smaller. Don’t worry, if you attach a Google Drive link, mail merge will convert them to PDF.
Apart from that, Gmail is a free way to mail merge your PDFs. Although using a tool can help save time and hassle in the process. Speaking of which:
Right Inbox Mail Merge for PDF
Using an application like Right Inbox for your PDF mail merge is a smart move. The Gmail Mail Merge feature has the following benefits:
1. More Features – Gain access to features not available in Word, Gmail, or other spreadsheets.
2. Personalization – Reach your email recipients with customized messages unique to their needs. Make your prospects feel like you did your research and care about their situation.
3. Scalability – Reach more people faster by removing the tedious manual work. Contact hundreds of recipients a day instead of a few dozen.
4. Sequences – Combine your mail merge with your email campaigns and scheduled sequences for enhanced email marketing automation.
In short, Right Inbox lets you accomplish the same thing as the manual methods above, without the risk of error or significant time investment.

Conclusion
There are a lot of reasons you may need to mail merge a PDF attachment. Businesses, universities, and government organizations often have a lot of data to distribute among various recipients. But regardless of why you need it, there are a few hurdles to overcome.
That’s why knowing your different mail merge options will allow you to choose the best method for your specific needs. Select the method above that resonates with you and enjoy your new streamlined mail merge process.
Track emails, email reminders & templates in Gmail for free
Upgrade Gmail with the features it’s missing
Add to GmailDavid Campbell
David Campbell is the editor of the Right Inbox blog. He is passionate about email productivity and getting more done in less time.


