Most email providers – Gmail included – will let you create your own signature, offering you the chance to customize fonts and colors, insert images, GIFs and links, and save multiple email signatures to access when you need them. You can achieve a fairly decent email signature in just a few clicks.
But for more advanced technophiles, Gmail has its limits. You’re limited to standard fonts and colors, and can’t do much to alter the layout. And because you don’t have the option to create an HTML signature within Gmail settings, you have to manage this step using an external tool.
What Is an HTML Email Signature?
An HTML (Hyper Text Markup Language) signature is a piece of text that appears at the bottom of your email message. It’s more advanced than your usual email signature because the HTML will allow you to display images of different sizes, colors, and shapes, as well as add tracking to links and insert various design elements that you couldn’t achieve from within Gmail.
Essentially, because you are writing your signature in HTML, you can code all sorts of elements into it.
In the past, inexperienced coders would outsource this job to a professional who’d be tasked with creating different rows and columns to format your signature and write complicated codes to deliver the style and content you require. Often, they’d have to use CSS (Cascade Style Sheets) to provide the correct positioning and spacing.
But now things are much easier and quicker. For starters, there are plenty of online HTML generators available to help you create the signature you want in HTML.
Why Might You Need an HTML Email Signature?
If you want more control over the look-and-feel, design, format, and/or content of your signature, then coding it in HTML will give you more options than if you were to create it within Gmail settings.
That said, you might wonder why you’d use an HTML email signature when you could insert an image you’ve designed yourself.
First of all, an image can be picked up and treated as spam by your recipient’s email provider. The text:image ratio is too low, sending spam signals to email providers and diverting them into junk folders. Generally speaking, it’s better to use more text than images in your email signature to mitigate against the spam problem.
Secondly, if you insert an image as your signature, you can’t control which elements of the signature are clickable. Say you wanted a call-to-action to click through to your product pages, or a banner that linked to your website. You couldn’t make these distinct parts of your email signature if they’re pre-built into an image.
So, by generating your email signature using HTML, you both have control over its design and can manage the text:image ratio to ensure that the clickable parts work how they should.
Want to get more from your email signature. Check out Right Inbox’s email signature capabilities.
Create Your HTML Using a Free HTML Email Signature Tool
The first step is to find an online HTML email signature generator.
MySignature is reliable, safe, and free. To use it, you simply head to the website and sign up. You can sign up manually or use one of your social media accounts to log in.
Step 1. In the main dashboard, click New signature. Note that you only have one free signature to use under your free account.
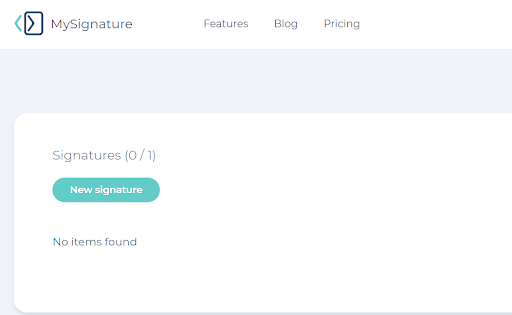
Step 2. You can now enter all the details you want to include in your signature using the built-in form. You’ll be able to preview the signature in the viewer on the right hand side.
Step 3. Firstly, fill in the text-based details (name, company, address etc.).

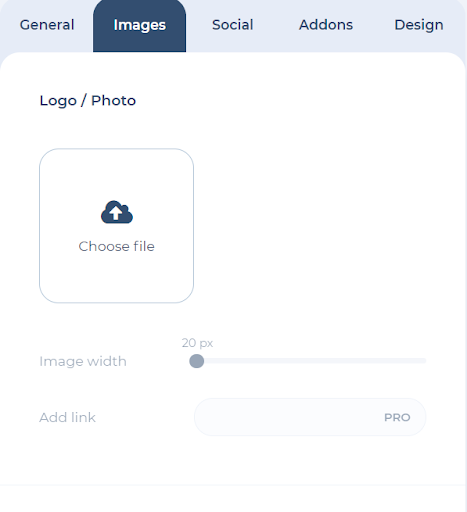
Step 4. Next, upload from your device any images you want to include (you can adjust the width).
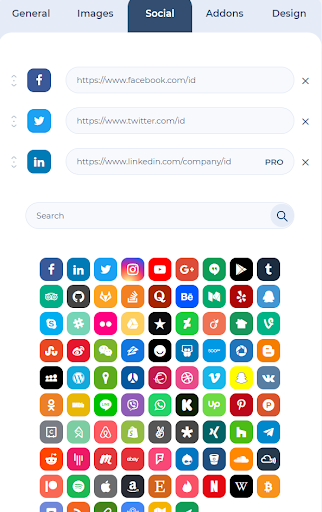
Step 5. Now upload any social media links you wish to include, as well as the icons you want to use:
Step 6. You can also insert other add-ons, such as your hand-written sign-off and video conference links.
Step 7. Finally, you can adjust the design of your signature such as the font, color, and layout:
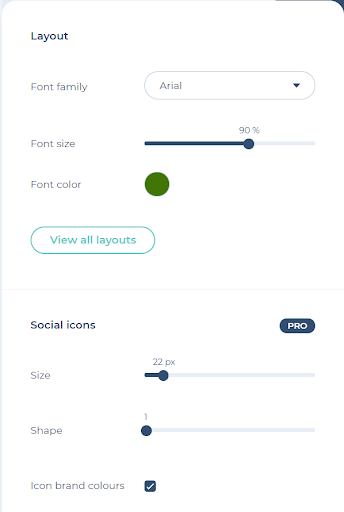
Step 8. Click Save signature where you will be able to preview your signature.
Step 9. Click Save to clipboard.
These are all options available on the free version. If you sign up for the Pro tier ($16 per month), you can unlock a few other options. With Pro, you have more control over your signature design, the links you can include, and you can also delete the branding below your signature as it appears in your email.
Additional Reading: How To Change Your Email Signature In Gmail
How to Insert the HTML Signature into Gmail
Step 1. Sign in to your Gmail account.
Step 2. Go to Settings by clicking on the gear icon in the top right hand side of the screen.
Step 3. In the General tab, scroll to Signatures.
Step 4. If you don’t have a signature already, click Create new, name the signature, then paste your HTML email signature into the box provided. (If you do have a signature, then click on the name of that signature and delete the existing content in the field before pasting your HTML.)

Step 5. Edit as necessary.
Step 6. Scroll to the bottom of the screen and click Save Changes.
Step 7. It’s always worth testing your email signature before you use it, so send yourself or a friend an email with your signature to check that it looks right.
Making a Custom Email Signature with HTML and CSS
One of the great things about using tools to create your email signatures is that you save a lot of time. However, there can come a time when you simply need a completely custom signature for your personal or company brand.
Reasons to Make a Custom Email Signature
- Increase professionalism
- Add legal terms or address other compliance issues
- Incorporate complex designs that signature generators cannot emulate
- Express your creativity if you are a designer or artist
- Overcome technical issues that may exist with HTML signature tools
So, now that we know the potential benefits of custom signatures, let’s talk about how to make your very own using HTML and CSS.
1. Find some quality free icons from a site like uxwing.com
2. Once, you find the icon size and style you want, such as a Facebook image, click “Download PNG”

3. Next, you need to re-upload your icon via a site like https://console.firebase.google.com/ so that it will appear in your signature properly
4. Now it’s time to create your HTML file. If you’re unsure about this step, https://www.codecademy.com/catalog/language/html-css is a great website to learn the basics for free. It’s not as difficult as it sounds, you just need to learn a few tag structures and save your work on your desktop in a .html format.
5. Once you’ve whipped up your HTML file, simply drag and drop the file into your desktop browser, or copy its name for the same result.
It will pull the file and display it in your browser:

All you need to do is drag your mouse over the content, right click, and copy it.
6. Once you have your signature content copied to your clipboard, go to your gmail account and click the gear icon at the top and then click “See All Settings”
7. Scroll down to the signature section and select “Create New”
8. Create a name for your signature and click “Create”
9. Paste your copied signature into the box:
10. Make sure you have your signature enabled for new emails and replies

11. Just click “Save Changes” and that’s it! Your new beautiful signature, built custom with HTML and CSS, is ready to go!
Creating your custom email signature with HTML and CSS might take a little work at first. However, the great thing is that once you create your signature, you’re set!
In Summary
There you have it! Creating a customized, well-designed HTML signature isn’t as hard as it sounds. Thanks to HTML email generators like MySignature, you can build a professional and visual sign off for free in just a few steps.
That said, the free tier only gives you one HTML signature at your disposal. If, like many, you need more than one signature for different occasions or recipients, then Right Inbox’s lets you create and save multiple signatures in Gmail. These sign offs can then accessed from within your new email by clicking on the Signatures button.
Track emails, email reminders & templates in Gmail for free
Upgrade Gmail with the features it’s missing
Add to GmailDavid Campbell
David Campbell is the editor of the Right Inbox blog. He is passionate about email productivity and getting more done in less time.
