Whether you’re just getting started with Google Sheets or want to learn more about advanced features, this guide is here to help you!
We’ll show you how to create and edit a spreadsheet, format cells, add formulas, and perform basic calculations.
With this Google Sheets tutorial, you’ll learn how to use it like a pro:
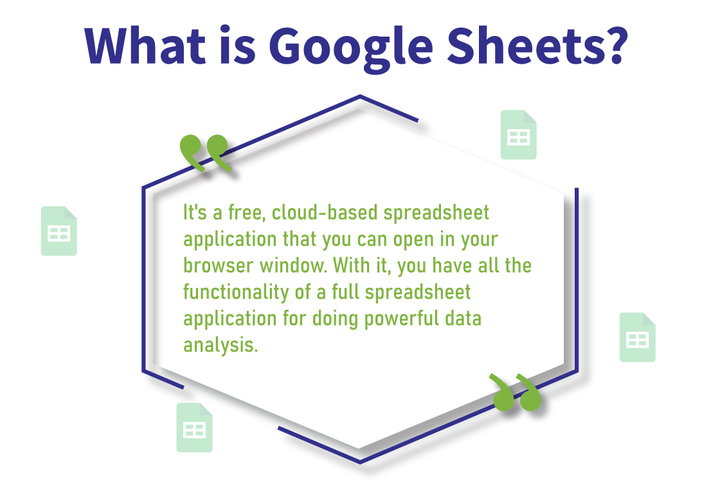
What is Google Sheets?

Google Sheets is a free, web-based spreadsheet application you can use directly in a browser. All features and capabilities of other popular spreadsheet software, but free to use.
Why Use Google Sheets?
Google Sheets is absolutely free! It’s also very easy to use as you’ll see in this Google Sheets tutorial.
It’s also collaborative, so that teams can all see and use the same spreadsheet in real-time.
Google Sheets offers advanced functionality. You can create dashboards and formulas that will blow you away or even apps for automation.
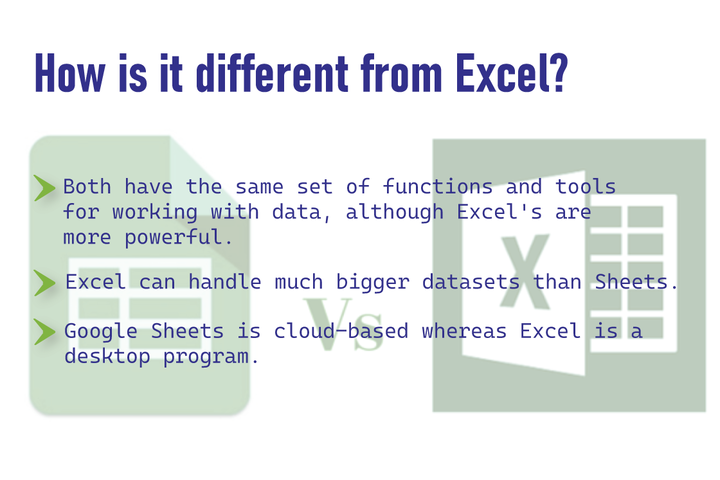
How is it Different from Microsoft Excel?

Microsoft Excel is undoubtedly a major player in the spreadsheet industry, with an estimated 750 million to 1,000,000 users worldwide. Google Sheets shares many similarities with Microsoft Excel, but also has distinct differences.
Both offer the same set of functions and tools for working in data, but Excel is more powerful. Excel can also handle larger datasets than Google Sheets.
Another difference is that Google Sheets can be used in the cloud, while Excel can be used on a computer.
Google Sheets makes it easy to have the most up-to-date version of your work available. Everyone can see the most current version of your spreadsheet data.
Finally, Microsoft Excel and Google Sheets both have scripting languages that allow you to extend your functionality and create custom tools.
Additional Reading: How to Create a Mail Merge with Google Sheets
How to Create your First Google Sheet
If you’re new to Google Sheets, head over to https://www.google.com/sheets/about/ and click on the Go To Google Sheets button in the middle of the screen.
Sign in to your Google Account. You will be asked to create new spreadsheets.
To create your first sheet, click on the plus button at the bottom left corner. This will open a blank sheet that you can use for data entry.
Opening Google Sheets from your Google Drive
Click on the blue ‘New’ button to create a new Google Sheet. Name your Sheet. If you prefer, you can drag it to another folder.
The Google Sheet Editing Window
You’ll be able to create and manage your spreadsheets from the Google Sheet editing window. This is a blank sheet you can rename by clicking the “Untitled spreadsheet text” text in the upper left corner. Spreadsheets are composed of grids of cells that each have a rectangular shape and contains one piece of data.
Columns are vertical ranges that contain cells labeled with letters across the top of a sheet; rows are horizontal ranges that contain cells labeled with numbers down the left side.
Additional Reading: How to Password Protect a Google Sheet
How to Select, Move and Delete Data
Let’s get started with the blank sheet that you just created. To see the blue box surrounding cell A1, click on the intersection of column A and row 1. It is located in the top left corner. You can now start typing and you will be able to view the data being entered into that cell.
After you’re done, press Enter to go to the next cell. To move one cell to your left, you can also hit Tab.
It is worth pointing to a crucial nuance.
Clicking ONCE on any cell will highlight the entire cell. Clicking TWICE on any cell will open it up so you can select the data or work within it. Click once on a cell to delete it. Click twice and then click delete to delete all data.
What happens if you make an error?
It is easy to correct a mistake made in your Google Sheets spreadsheet. To undo the previous steps, press Cmd+Z (Mac) or Ctrl+Z (computer). Continue pressing Cmd+Z on a Mac or Ctrl+Z on a computer to reverse your changes.
To move forward, press Cmd +Y (Mac) or Ctrl+Y (PC) to redo your last steps.
Alternativ: You can use the Undo button in the menu bar at the top of your screen.
Creating a Google Sheets Table
Google Sheets makes it easy for you to add, remove, or hide columns and rows. Click on the number of rows or the letter (columns) of the row or columns that you want to select. This will highlight the entire row or column in a blue color to indicate that you have selected it.
You can adjust the width and height of a row or column, as well as add or remove columns. To open the options menu, right-click on the highlighted area.
Add Columns and Rows
Do not worry if you have more columns or rows to add to your Google Sheet. To add more columns, click the “add additional columns” button at the bottom of your Google Sheet.
It is easy to add or delete multiple sheets. Simply click the plus button at bottom of your Google Sheets to create a new or delete one. To rename sheets, click on the titles.
Formatting your Google Sheets
The top toolbar contains all formatting options. You can make your headings bold, center, or format numbers as currency. They can be found under the More button or in one row. They are very similar to word processors and quite self-explanatory.
You can always undo a mistake (Cmd+Z for Mac or Ctrl+Z for PC).
To remove all formatting from a single or range of cells, press Cmd + (on Mac) or Ctrl+ on a computer.
This will make it much easier to remove formatting you don’t want or need.
Color Coding your Data
You can make your tables more readable and visually appealing by adding alternating row colors (banding). Highlight the table and then choose Format > Alternating colors from the menu.
Splitting Data
The Text to Columns feature makes it easy to separate data. Select the data you wish to separate and click Data > Split text in columns. Choose the separator you prefer from the submenu.
SPACE was chosen in this instance.
Different Data Formats
Each cell in a Google Sheets spreadsheet includes both the data and the formatting that was applied to it. Depending on the formatting applied, a cell that contains the number 2 will show up as either 2.00 or $2.
Add 2 to each cell, and you’ll get the number 4.
What is the Difference in Formula and Function?
A function is a single-method term like SUM. The formula refers to the entire operation that follows the equals sign. It can include multiple functions.
Pro Tip: Formulas can be used on Multiple Sheets.
To refer to data on another sheet, you will need an exclamation mark at end of the reference sheet. For example, “Sheet1”
It will be necessary to use it. The symbol is followed in brackets by the cell references.
Track emails, email reminders & templates in Gmail for free
Upgrade Gmail with the features it’s missing
Add to GmailDavid Campbell
David Campbell is the editor of the Right Inbox blog. He is passionate about email productivity and getting more done in less time.


