GIFs are awesome. You’ll see them on Twitter, blog posts, Slack channels, Facebook, and Whatsapp. e.t.c.
But have you seen a GIF in an email signature?
Either way, this guide will delve deeper to show how to add GIFs to your email signature, why you should do it, and its impact on your business.
Why Should you add a GIF to an Email Signature?
There’s massive competition for attention when it comes to email. An average email user receives around 100 emails every day.
The number is expected to increase in the coming years as online communication is getting more popular.
This only means that more people don’t have the time to read all their emails. They’ll let them pile for a few days before they start an inbox zero campaign by deleting “boring” emails.
GIFs prevent your email from going to the trash folder as it’s an attractive visual that catches the recipient’s attention.
Benefits of Adding a GIF to Email Signature
You have 7 seconds to make a first impression.
Adding a GIF to your email shows your personality on that first contact. People will know that you’re funny, crazy, professional, or serious based on the Gif on your email signature.
Talking of benefits, research has it that emails with visuals like GIFs record a 42% CTR then emails without visuals.
Adding visuals to your emails can boost engagements and clicks by up to 300%. In a nutshell, GIFs aren’t only made for social channels.
In addition, GIFs in email signatures improve your brand recognition, establishes legitimacy, and ensure consistent business branding.
How to Add a GIF to your Gmail signature
First, Create a GIF
The first step is creating the Gif you want to add to your email signature. This shouldn’t be a problem. You can easily create one from free Gif sites like Giphy, GIFbin, Reddit, imgflip orCanva.
There are a few things to keep in mind when doing this.
- Only create appropriate GIFs. Don’t throw professionalism out of the window because you’re trying to be funny.
- Keep it subtle. Some people find it annoying when they have to view a GIF repeatedly before they understand it.
- Don’t create a dominant Gif design that will overshadow other elements in your email.
- Avoid using large GIFs, which might cause your emails to lag.
Alternatively, you can purchase a premium GIF from the sites mentioned above. Once done, save it to your device.
Step 1: Open your Gmail account and click Settings on the top right side of your screen. From there, click See all settings.
Step 2: Choose the General tab and move down to the Signature icon.
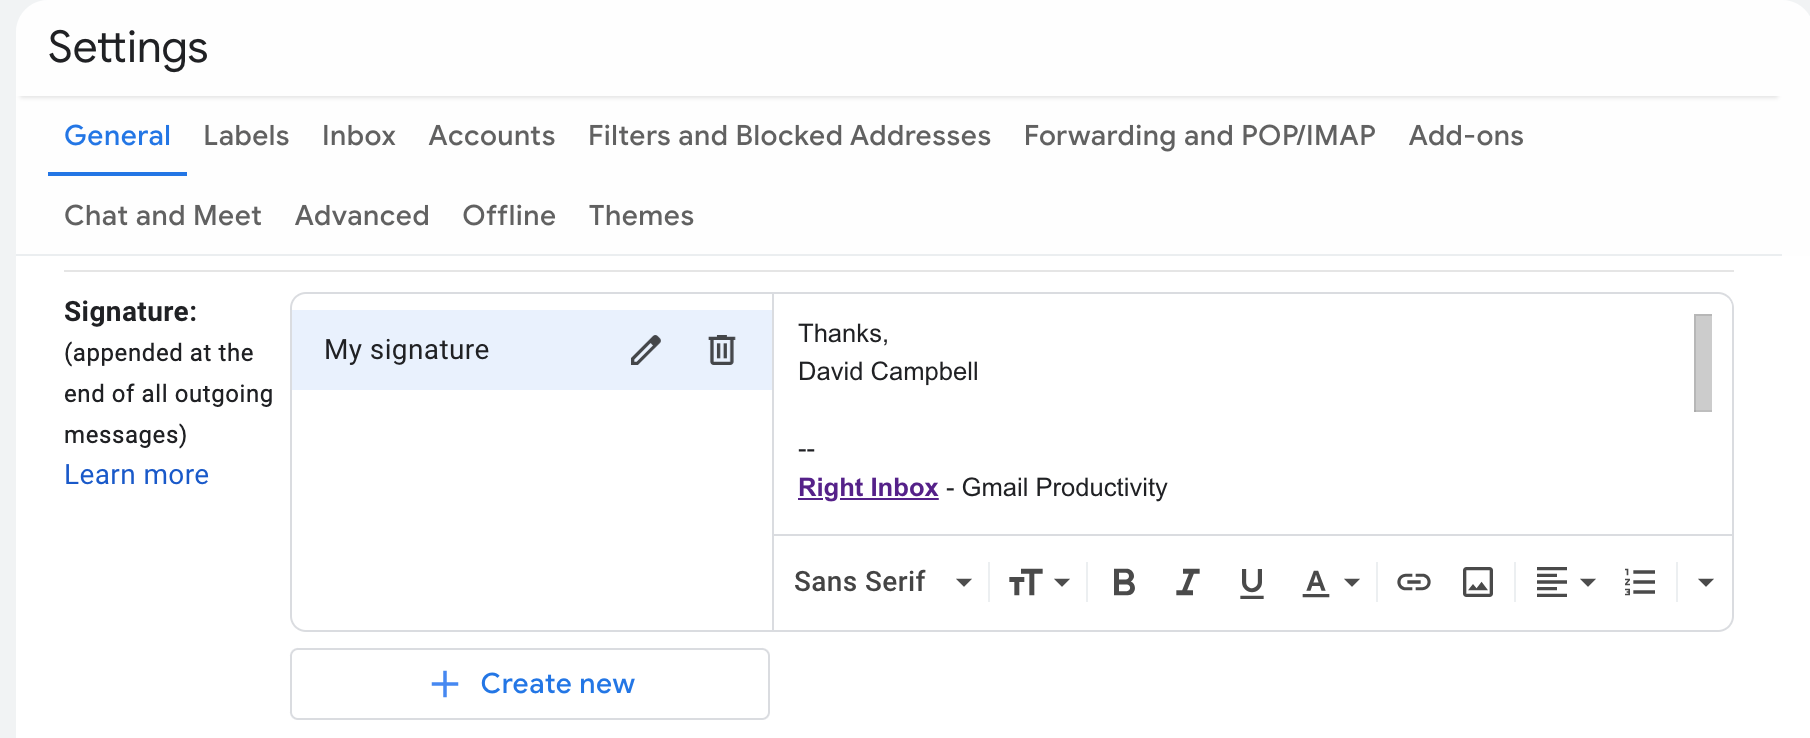
Step 3: If you already have a signature name, select it. It will open a signature editor menu with multiple options. If not. Select “create new.” Add your signature name and click “create.”
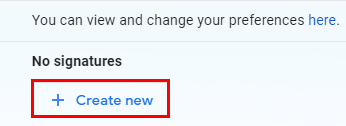
Step 4: Put your cursor where you want to add the Gif. It’s advisable to place it between your name and other elements like social media icons.
Step 5: Choose the insert image icon inside the signature menu editor.
![]()
It will open an “add image” dialogue box with multiple options of uploading the Gif. These include My Drive, Upload or, Web address (URL).
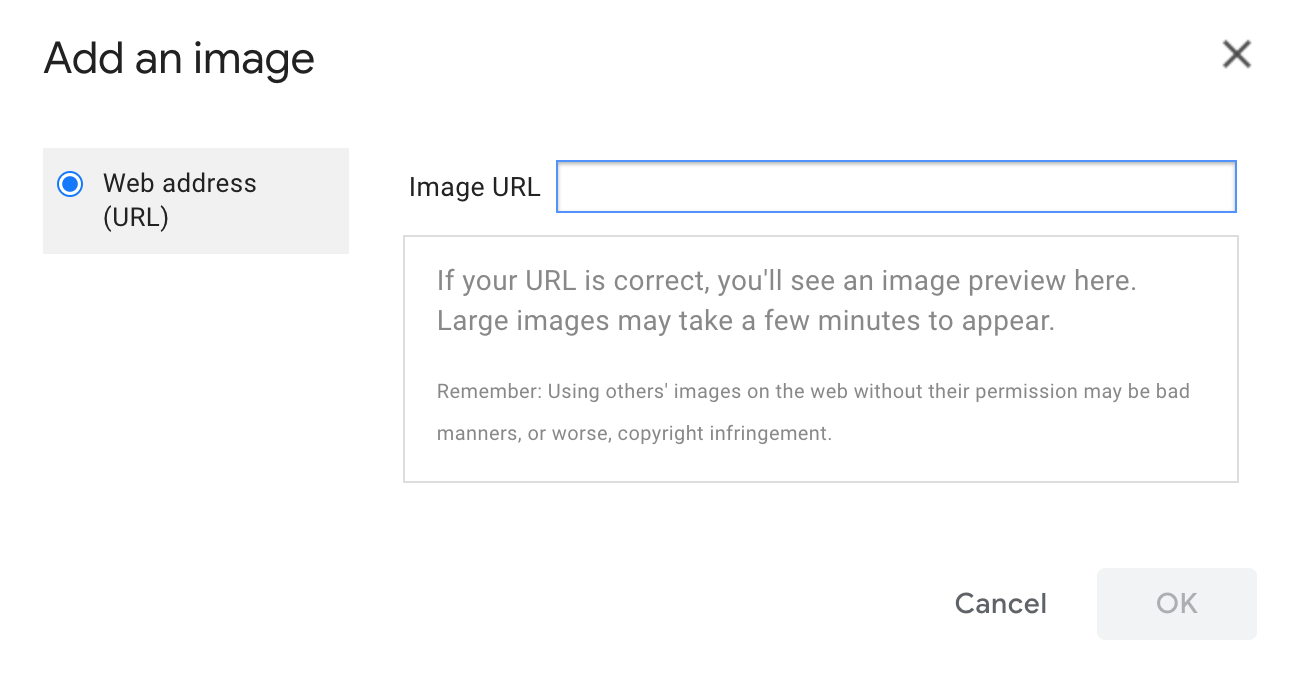
Step 6: If you created your Gif from a site like Giphy, copy that link and paste it into the Web address (URL) slot. If you used Canva and downloaded the Gif, choose upload. Browse through your device to locate the Gif and upload it to the signature editor.
Step 7: Resize it because the default setting is “large” which covers the whole signature editor. Choose between the original size, small, medium and large.
Step 8: Scroll down to the bottom of the page and click save changes. Send yourself a test email to see if everything is perfect.
Right Inbox Email Signature Feature
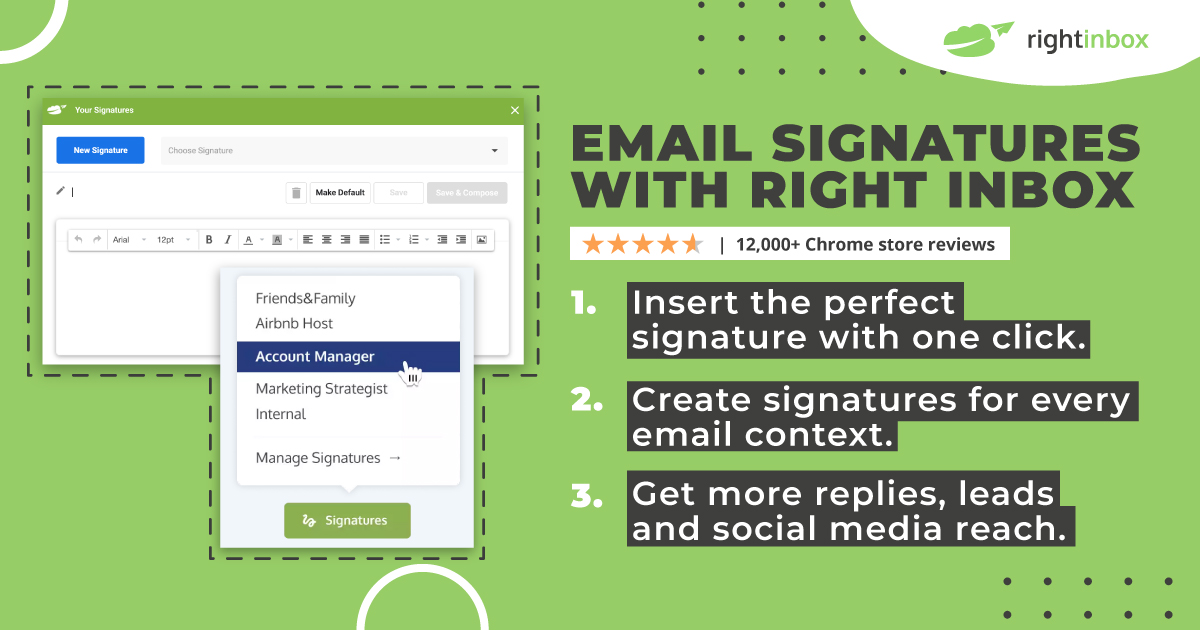
While GIFs are great for email signatures, there’s nothing more exciting than having the flexibility of choosing different signatures for different occasions? That’s what the Right Inbox email signature does.
You can create multiple signatures and store them in the same email editor. For example, you can have a casual email signature for relatives or friends and a professional one for colleagues and clients.
This makes it possible to change the tones of your email when sending it to different people. Plus, it’s incredibly flexible because you don’t have to go back to email settings and manually create a new signature for each occasion.
Follow the steps below to use the Right Inbox email signature.
Step 1: Download Right Inbox chrome extension here.
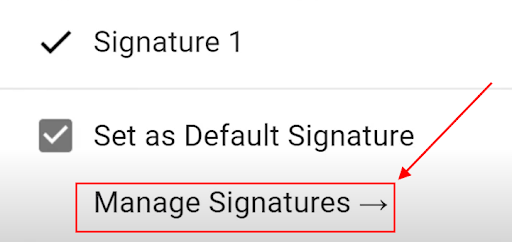
Step 2: Open a new email and click the signature icon. Click on the arrow on the right-hand side of the icon.
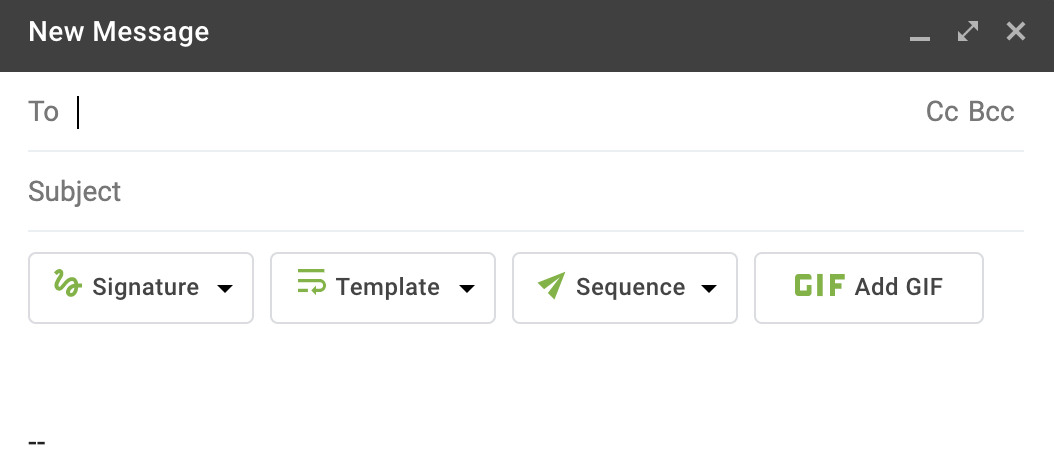
Step 3: On the drop-down menu that appears, click manage signatures.
Step 4: Click new signatures and create one using the signature editor that appears. Give it a name and click save.
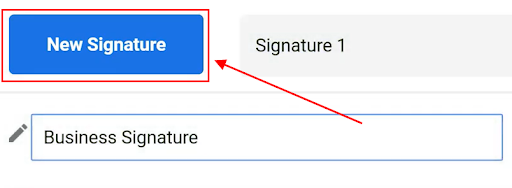
Step 5: Repeat the same process to create as many signatures as possible. You’ll be able to access all the signatures whenever you click “signatures” after composing an email.
Using GIFs in your Emails with Right Inbox
You’re not limited to adding a GIF in your email signature alone. You can add GIFs to your email copy in seconds with Right Inbox. Here’s how:
Step 1: Download the Right Inbox extension and integrate it with your Gmail.
Step 2: On the email editor, click the Add Gif button on the right side of the editor.
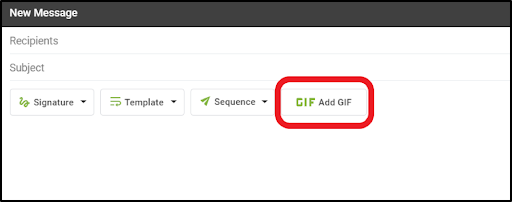
Step 3: The command opens up a pop-up window where you can navigate through trending GIFs from the Giphy platform.
Step 4: To quicken your search, type a keyword on the search box to find GIFs rhyming with the search phrase.
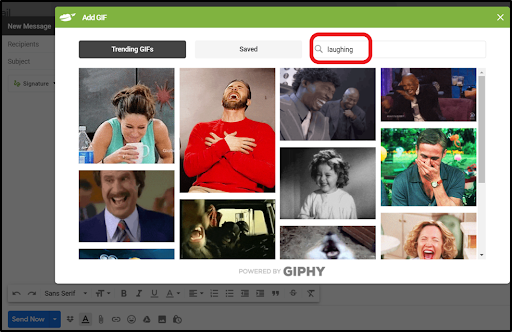
Step 5: When you hover the cursor on any Gif you’ve chosen, you’ll get two options whether to save or insert the Gif. Saving the Gif means storing it on the save tab for later use. It will go directly to your email when you insert it.
Conclusion
Gifs are a simple way to make your email exciting and friendly. You can use them in any type of email without feeling like you’ll offend the recipient. And adding them to your signature makes your email outreach stand out that bit more.
Track emails, email reminders & templates in Gmail for free
Upgrade Gmail with the features it’s missing
Add to GmailDavid Campbell
David Campbell is the editor of the Right Inbox blog. He is passionate about email productivity and getting more done in less time.
